Every time you see dark mold spreading in the corners of your veranda window frame, you feel frustrated and upset. However, if you casually spray expensive specialized cleaners without proper knowledge, you might be overwhelmed by the strong odor, and the mold may still not be fully eradicated at its roots, leading to a recurring "mold trauma" just a week later. Today, I want to share specific methods for restoring your veranda for less than half the cost of professional services by using white distilled vinegar—a strategy I personally researched and verified. I will also offer an honest take on warnings against over-relying on vinegar.
Is vinegar truly a cure-all? The encounter between mold and chemistry
Many people trust the acidic properties of vinegar and consider it a "cure-all mold killer." Indeed, vinegar (acetic acid) is mildly acidic, which helps suppress bacterial growth and is quite effective against light stains. But let me be clear: vinegar’s sterilizing power is much weaker than that of professional-grade chemicals. In particular, on verandas where insulation is weak, causing winter condensation to allow mold mycelia to penetrate deep inside wallpapers or silicone caulking, vinegar can only wipe away superficial white residue, often leaving the root cause intact.
I, too, initially wiped things down casually with diluted vinegar, only to be horrified a month later when a darker, more intense black mold emerged. Veranda mold is not simply a cleaning issue; it is intertwined with moisture management and insulation problems. Mold thrives actively at temperatures of 20–30°C and relative humidity of 70% or higher. Therefore, before using vinegar, you must first determine whether your veranda suffers from "simple surface contamination" or "internal structural condensation." If window frame sealing has peeled away, or if pressing on the wallpaper gives a damp sensation, you must first conduct a leak inspection before starting any vinegar treatment.
The key to cutting costs in half: The synergy between Daiso products and vinegar
Hiring a professional service typically costs 100,000 to over 200,000 KRW. Premium commercial mold removers cost between 15,000 and 20,000 KRW for 500ml. However, I reduced this cost to under 6,000 KRW. The core lies in the 'method of combined use.' Expensive commercial products essentially contain sodium hypochlorite (the main ingredient in bleach) or sodium percarbonate. By appropriately mixing these components with affordable products from Daiso and vinegar, you achieve excellent results.
While Daiso’s mold remover costs only 2,000 KRW, many reviews state that its ingredients and performance are almost equal to those of high-end products. Crucially, you must never mix vinegar and bleach (chlorine-based cleaner) together. Combining them releases toxic chlorine gas, which can harm your respiratory system. Therefore, the 'half-cost strategy' I recommend involves a step-by-step approach.
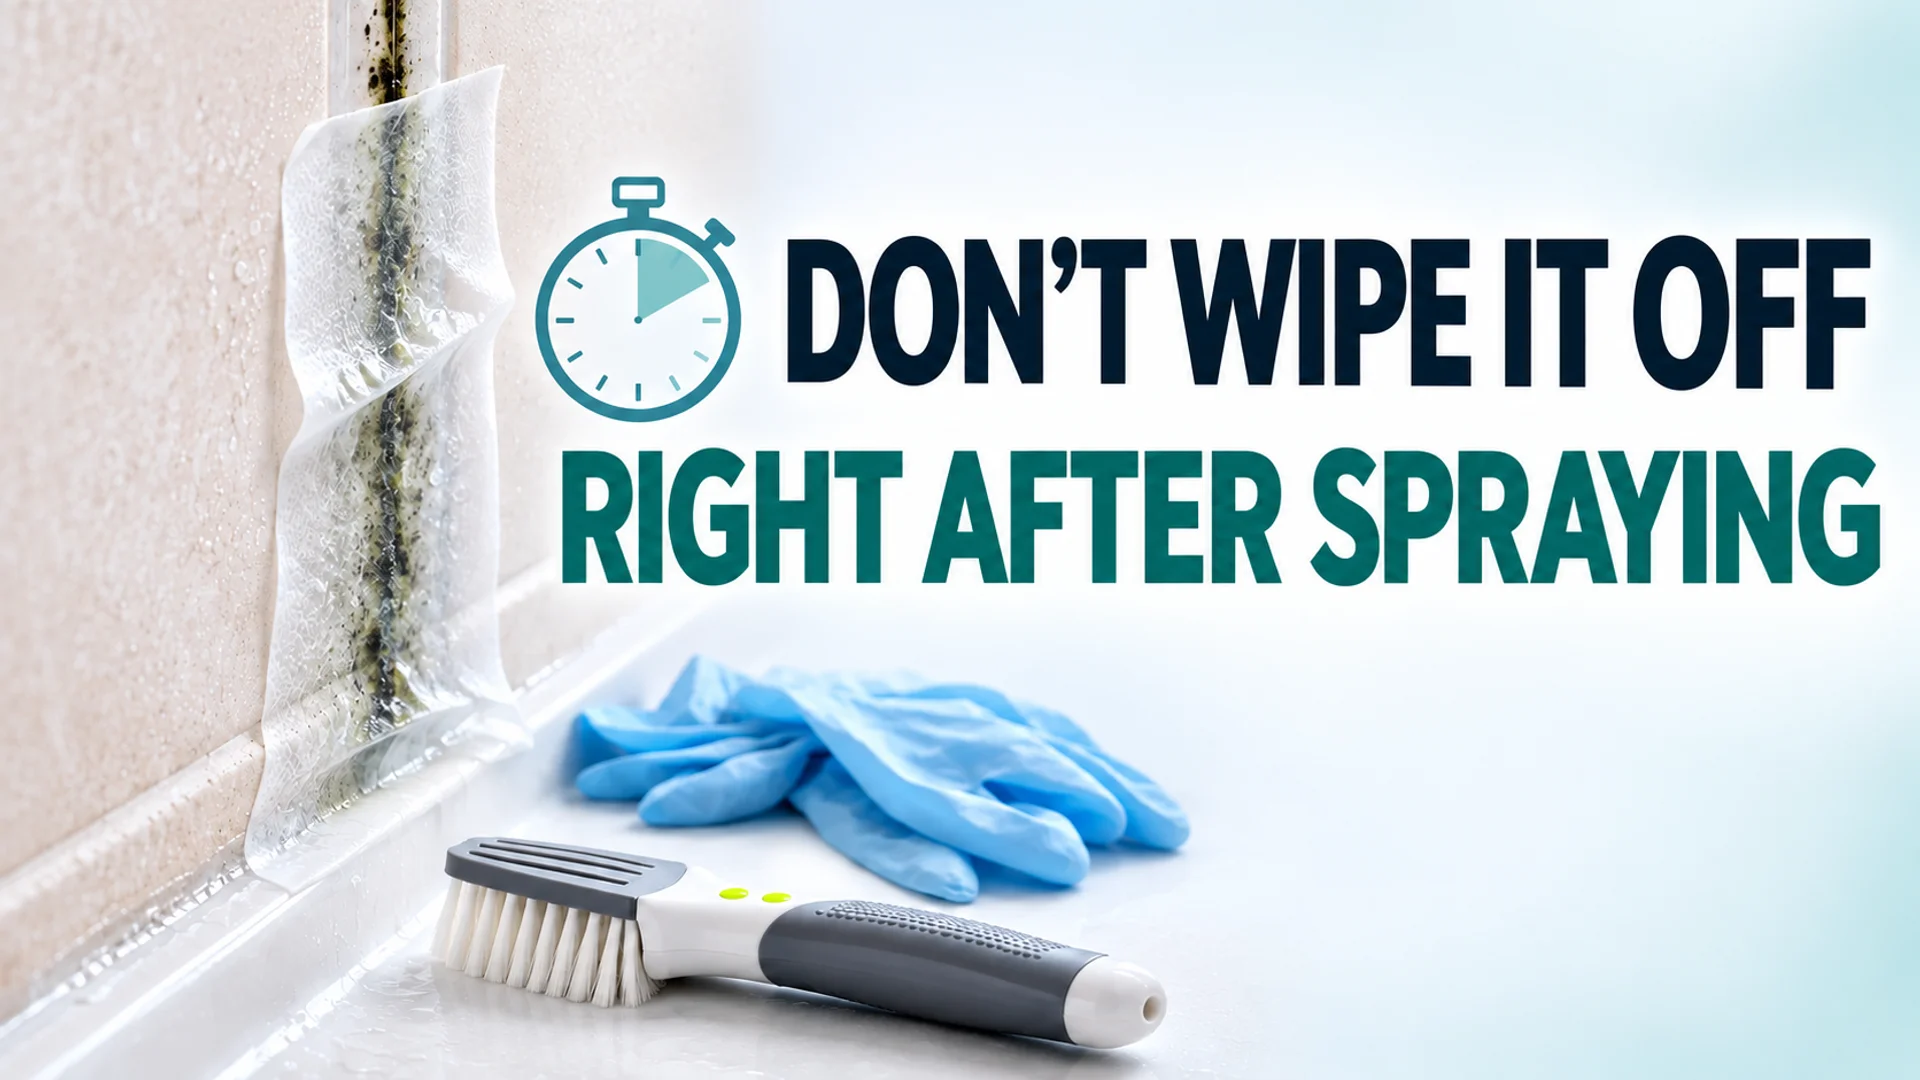
Step 1: Vinegar for spore containment and pre-treatment First, fill a spray bottle with undiluted vinegar (or a 1:1 water-vinegar solution) and spray it generously on moldy areas such as window frame silicone or tile corners. Let the vinegar sit for 10 minutes. Then, wipe the area with a dry cloth to remove moisture. This significantly reduces the amount of mold spores spreading into the air. This step leverages vinegar’s deodorizing and surface-purifying effects, serving as a preparatory measure that also helps reduce lingering mold odors when you apply the specialized cleaner later.
Step 2: Daiso remover to attack the roots After pre-treatment, wipe the area dry and apply Daiso’s mold remover. Instead of using one bottle of a 30,000 KRW product, buying three 2,000 KRW bottles to apply generously is actually more advantageous for covering large areas. For stubborn dark stains, apply the remover once, wait 10 minutes, then apply a second round and rub to wipe clean. Since vinegar pre-treatment removes some of the slick surface layer, the specialized cleaner penetrates more effectively, creating a synergistic effect.
Custom strategies by area: Vinegar vs. specialized cleaners vs. sodium percarbonate
You don’t need to use vinegar on every part of your veranda. In fact, doing so is wasteful and often leads to failure due to its limitations. You must switch your weapons according to the characteristics of each area.
Window frames and silicone: These areas can be susceptible to acidic vinegar. Aluminum window frames, in particular, risk discoloration, so a preliminary test is essential. However, vinegar is effective on tile grout or uncoated silicone. Yet, aged mold cannot be removed by vinegar alone. After vinegar pre-treatment, soak a kitchen towel with a Daiso chlorine-based cleaner and apply it like a tight pack for 10 to 20 minutes. Be careful not to exceed 20 minutes, as this may damage the silicone.
Veranda walls (drywall/wallpaper): If vinegar or water touches the wallpaper, it may peel or bubble, so you must be extremely careful with spray amounts. For synthetic paper (hapji) wallpaper, rather than spraying heavily, it’s better to slightly dampen a cloth and pat the surface gently. If black stains have spread inside the wallpaper, vinegar alone is insufficient. In this case, dissolve sodium percarbonate in warm water (50–60°C), spray it on, and let it sit for more than 30 minutes. Instead of acidic vinegar, alkaline sodium percarbonate is more suitable for oxidatively decomposing mold cell walls.
Floor tiles and flower pot trays: If drainage is good and the material is durable, you can use vinegar and baking soda together. Sprinkling baking soda and then spraying vinegar creates a bubbling reaction that aids in physical cleaning. However, avoid using vinegar on marble floors, as it can damage the surface.
A four-step process for guaranteed success
To cut costs, you must avoid repeat work. If you follow the four steps below, you can finish the job in one go.
- Spore management (most important): Wiping with a dry cloth spreads spores into the living space. Always wear a mask (KF94 or higher) and gloves, isolate the work area with plastic sheeting, or ensure air flows outward through a window.
- First vinegar application: Spray undiluted vinegar with a spray bottle, let it sit for 10 minutes, then wipe to lower the microbial activity on the surface.
- Second application and packing: Use a Daiso mold remover to tightly coat the contaminated areas (using kitchen towels), then wipe off after 10–20 minutes. Ensure all moisture is removed before application so that the cleaner does not mix with vinegar.
- Complete drying and humidity control: The biggest mistake after cleaning is leaving moisture behind. You must dry the area completely for at least 12 hours using a dehumidifier or fan. Indoor humidity should be kept below 50% to drastically reduce the probability of mold recurrence. Make it a habit to ventilate for at least 15 minutes, three times a day, between 10 AM and 4 PM (when outdoor humidity is lowest).
'Safety limits' you must remember when using vinegar
While vinegar is affordable and safe, please remember the following. Extra caution is needed in households with children or pets.
- Discoloration test: Vinegar can cause stains or peeling on marble, some coated metals, and synthetic wallpaper. Test it first on an inconspicuous corner and check the condition after 10 minutes.
- Ventilation is essential: The smell of vinegar itself is irritating. Keep windows open during the work and ventilate thoroughly afterward to remove the odor.
- Detecting recurrence signals: If the area looks clean after using vinegar and specialized cleaners but mold recurs in the same spot within about a week, it is no longer a candidate for self-management. If the wallpaper bubbles up or dark yellowish moisture seeps through, it is highly likely due to structural issues such as internal condensation, pipe leaks, or insulation damage. Instead of stubbornly applying more vinegar to endure the situation, it is more cost-effective to get a professional inspection at this stage and consider insulation or waterproofing reinforcement to address the root cause. Continuously wiping only the surface will lead to more severe mold and resistance, resulting in greater financial loss 2–3 months later.
Conclusion: The secret to saving half your money is 'root cause removal,' not just 'vinegar'
Ultimately, white distilled vinegar is not a powerful problem solver but rather an excellent 'partner' that prevents spore spread and lightly cleans the surface. By wisely combining vinegar with low-cost specialized cleaners instead of expensive chemicals, you can reduce costs from 30,000 KRW to under 6,000 KRW. But more importantly, post-work maintenance is crucial. Haven’t you ever started drying laundry on your veranda but left it hanging unfinished? Are you emptying stagnant water from flower pot trays in time? Mold grows where moisture stagnates.
I hope that by starting your cleaning journey with a single bottle of vinegar, you seize the opportunity to re-examine your home’s air flow and humidity levels. Starting today, fill your spray bottle with vinegar and try wiping down your veranda window frames. Small changes can lead to a much healthier and more comfortable home in the next season. If any of you have especially troublesome mold areas on your veranda or tips for preventing recurrence, please share them in the comments. Discussing and finding solutions together will provide faster help!
References
- 베란다 곰팡이를 이기는법. 다이소 추천템, 곰팡이제거법... - YouTube · youtube.com
- 베란다 곰팡이 식초 제거법 | 베란다곰팡이제거 · berandamold.korbareum.com
- 2026 봄 곰팡이 제거 완벽 가이드: 과탄산소다부터 제품 비교까지... · lifedailykorea.com
- 부산동 벽지 곰팡이 청소 식초와 베이킹소다 효과 비교 - 스피드 곰팡이 제거 · speedgompang.com
- 동안구 벽지 곰팡이 청소 초보라면 식초·베이킹소다 사용법 먼저 확인 - 스피드 곰팡이 제거 · speedgom.com
- 대장동 벽지 곰팡이 청소 식초와 베이킹소다 효과 비교 - 스피드 곰팡이 제거 · speedmoldclean.com
- 베란다 곰팡이 제거 완전 가이드 — 원인별 시공 방법과 재발 방지 관리법 · aceko.revrun.kr
- 베란다 곰팡이제거 하는법 | TikTok · tiktok.com